This is something everyone who prints a pattern hopes never happens. But, one thing I know for sure….I am far from perfect. There were a total of six people who checked the patterns and we all missed it. Not until I decided to remake block six on my Fiesta Mexico quilt using the newly printed pattern did I find the error. We have attempted to email everyone who purchased a pattern from us online but I thought I would also address it here in case you did not get the email. If you go to my website www.karenkaybuckley.com and look across the links along the top, right under my name, you will see “Pattern Corrections”. Click on the link and you will be able to print the corrections. I am very sorry this happened. If you have any questions please do not hesitate to email me at kkbquilter@aol.com

_______________________________________________________________________________________________________________________________________________
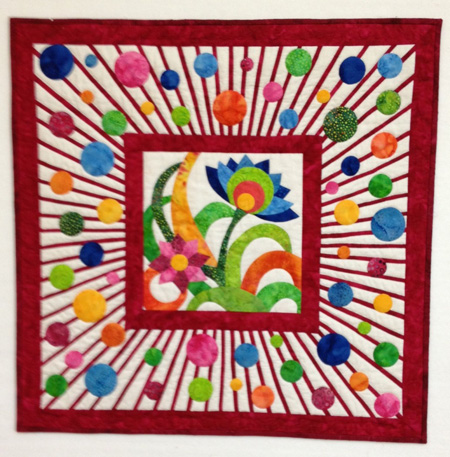
I had a couple of students share some of their finished quilts with me. I thought you’d like to see them as well. Jane Rua shared her finished Fiesta Mexico-Block Three with borders. Great job Jane.
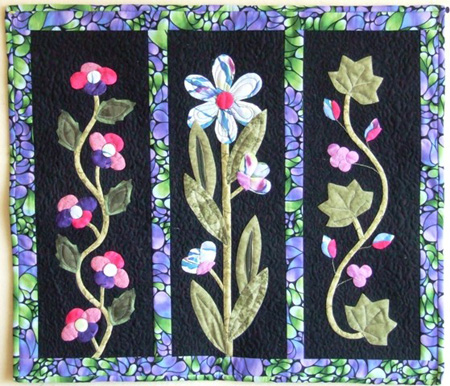
Darlene Neil took some classes from me when I taught in Jonesboro, Tennessee last summer. Her first project was made after taking the Garden Medley workshop. Nicely done Darlene. Great contrast on the black background.
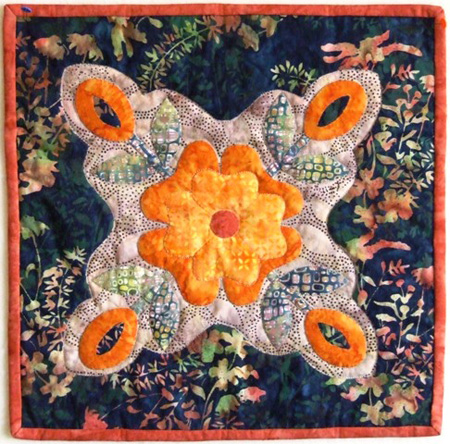
And Darlene also finished her Kansas Rose block using my machine applique methods. Thanks for sharing with us Darlene.
You all know how much I like to share finished projects on the blog. It gives me the warm fuzzies!
______________________________________________________________________________________________________________________________________________
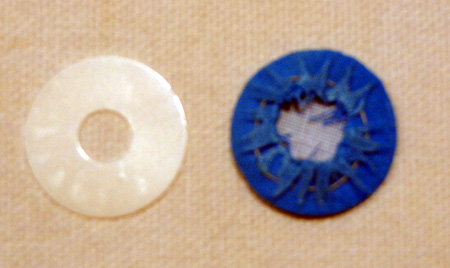
I added a new item to my website. Talking often about this in my applique classes, the issue is shadowing. This occurs when you place a light colored fabric on top of a darker fabric. You can see a shadow of the darker color coming through from behind the lighter fabric. In order to not have shadowing, I iron a medium weight woven fusible interfacing to the back of my applique pieces. This can be done in one of two ways. I am going to use a circle as my example but this would apply to any shape.
The interfacing I prefer is 100% cotton. It is a medium weight, woven, fusible interfacing. It comes 23″ wide and I am selling it on the store site, under, “Other Recommended Notions”. The woven interfacing can be purchased in 1 yard increments.
Cut your interfacing to the finished size of your piece. You do not want the bulkiness of the interfacing in your seam allowance. Iron the interfacing to the back of your fabric circle. Make sure you have the fusible side against the back of the fabric and iron in place. For those of you who are new to my site…the circle shape comes from my packages called “Perfect Circles”. You can find more information about them in the store section on my site.
(I used a medium blue fabric for my photographs because the interfacing did not show well on the lighter fabrics. I only interface light fabrics.)
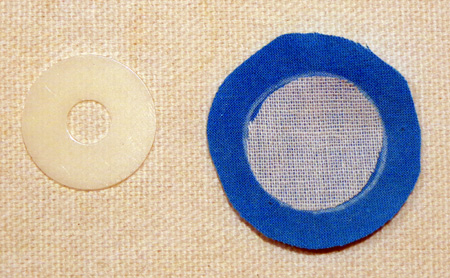
From the step above you could either needleturn under your circle but, really, why would you want to do that when you know you can get a perfect circle by using the Perfect Circles. Sew a running stitch in the seam allowance. I prefer quilting thread for this step.

Place your perfect circle on top of the interfacing and pull as hard as you can. Moisten the seam with sizing. I like sizing more than starch. I found starch left a residue on my fabric and if you applique by hand the starch can be difficult to sew through. Sizing works great. Iron dry.
Remove the perfect circle as they are reusable for ever as long as you keep your iron on a dry, medium heat setting. Too hot of an iron can warp the perfect circle.
You are now ready to hand or machine applique your perfect circle. And you will have not shadowing!
Until next week…….